
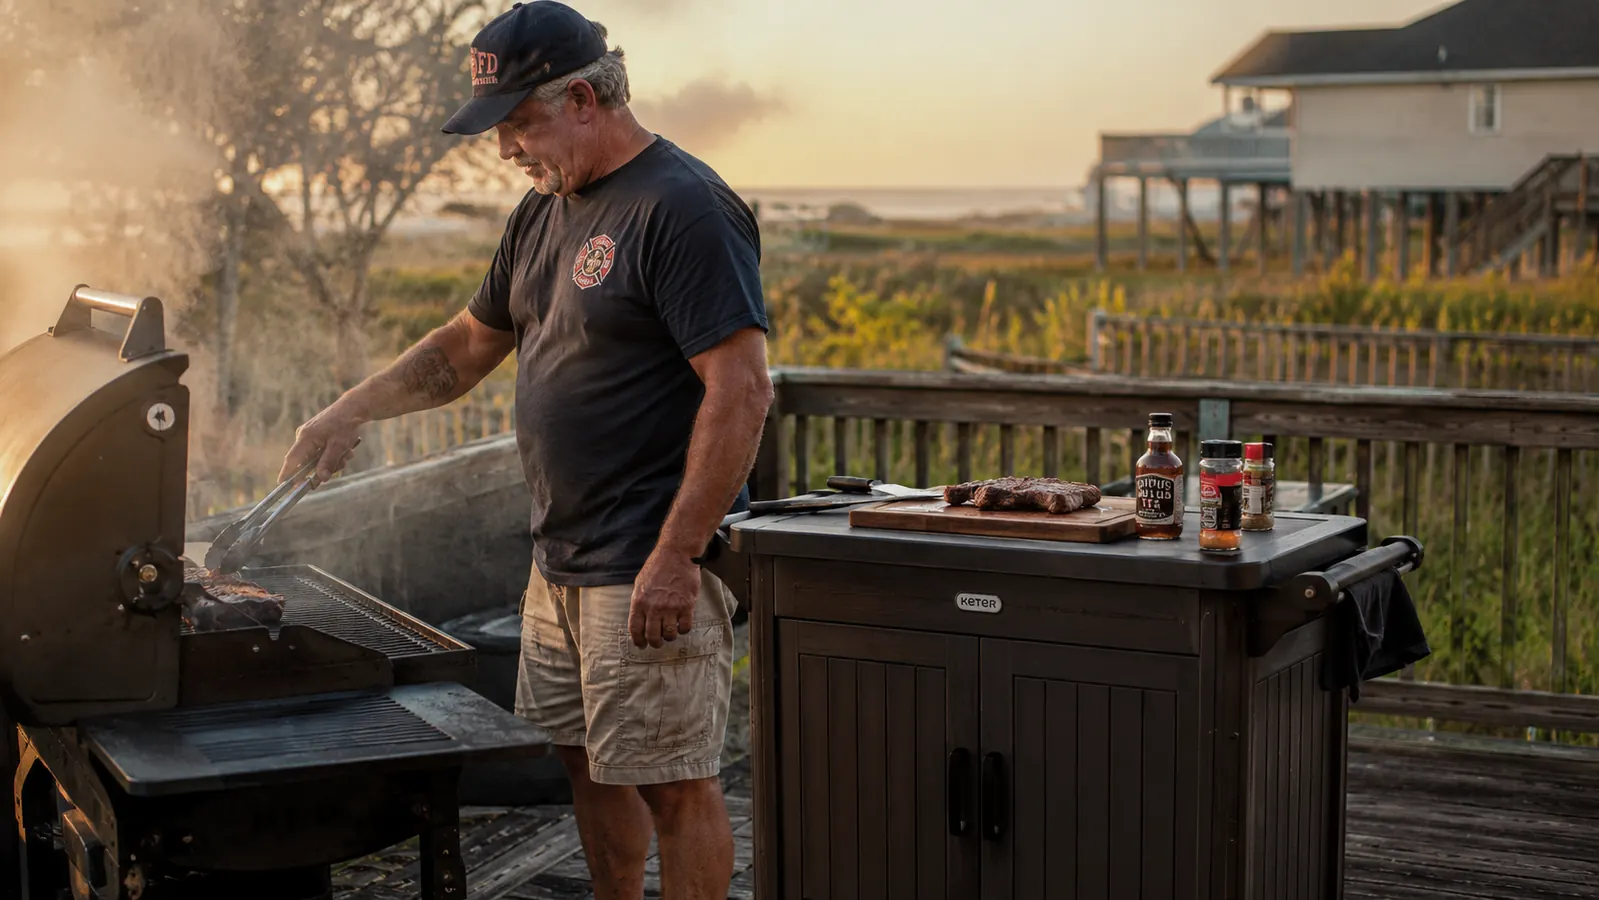
The first time I actually counted my trips between the grill and the kitchen during a Fourth of July cookout, I stopped at fourteen. Fourteen trips for a pair of tongs I'd set down somewhere, a bottle of barbecue sauce, a stack of paper plates, a second meat thermometer because I'd lost the first one in the grass by the azaleas. Donna finally told me to sit down and let the chicken take care of itself for five minutes, because watching me hustle back and forth was making her tired just standing there. That was the cookout that convinced me my grill station needed an actual system, not just a card table dragged out of the garage with a checkered cloth thrown over it.
My son-in-law Mark solved it for me that Christmas with a Keter Outdoor Rolling Table Cart, the dark brown one with the fold-out side tables and locking wheels. I'll admit I side-eyed it a little when I unboxed it, it looked more like patio furniture than a piece of cooking gear. But once I rolled it into place next to my grill on the back patio, I understood what Mark was getting at without him saying it outright. You don't need more counter space out there, you need the counter space you already have to actually work for you. This is the exact system I built around that Keter cart, step by step, the same walkthrough I'd give Big Earl if he called asking how I finally got my grill station organized.
Your Counter Space Isn't the Problem. Its Layout Is.
A Keter rolling prep cart parked right at the grill gives every tool, bowl, and bottle a home within arm's reach, so you stop treating your kitchen like a satellite station three cookouts a season.
Amazon Check Today's Price on Amazon →Step 1: Pick the Cart's Spot Before You Load a Single Shelf
Before you organize anything on the cart, decide where it's going to live during a cookout. I park my Keter cart about an arm's length off the right side of my grill, close enough that I can reach the top surface without stepping away from the grate, but far enough that heat off the lid doesn't warp the resin top over time. Out here on the coast, I also think about wind direction. I keep the cart downwind of the grill so a gust doesn't blow ash or smoke straight across whatever I'm plating.
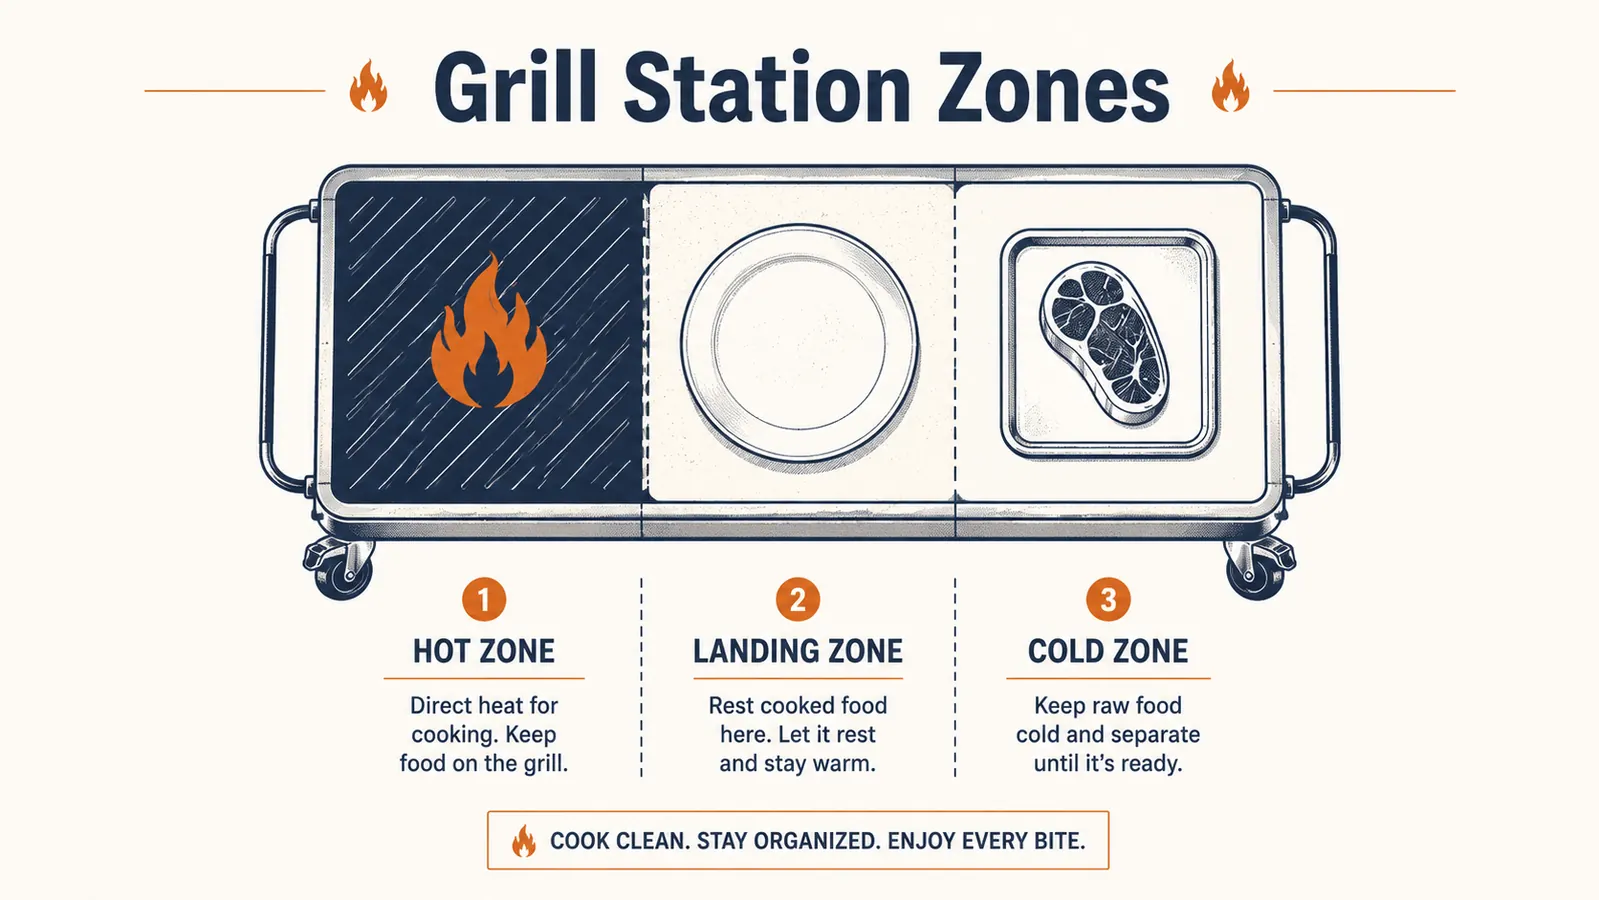
Think of the space in three rough zones: a hot zone right at the grill for tools and sauces you're using constantly, a landing zone for cooked food coming off the grate, and a cold zone a step further back for raw ingredients waiting their turn. My neighbor Frank used to keep everything in one pile on a single table, raw chicken sitting six inches from the platter he planned to serve on, and I always had a hard time watching that. The Keter cart's two fold-out side tables let me split hot and landing zones onto the same rolling unit instead of hauling a second table out every weekend.
I also do what I'd call a quiet trial run before the season's first big cookout, no food on the grill, just me walking the space to see if the cart's front wheels catch on a deck board or if a side table swings into the grill's hood when I fold it out. Sounds excessive for a piece of patio furniture, but a five-minute walk-through before guests show up has saved me from discovering a bad layout decision mid-cook, which is a bad time to be rearranging anything.
Step 2: Zone the Tabletop Between Raw Prep and Finished Plating
Once the cart's parked, treat the top surface like it has an invisible line down the middle. One side is for raw prep only, cutting boards, marinating trays, anything that touched raw chicken or ground beef. The other side is strictly for finished food, the platter that's going to the table, the bun basket, the corn that's already done. I picked this habit up the hard way, watching guys on the job handle a messy scene without thinking twice about cross-contamination, and it's a habit that costs nothing to keep once you build it.
The resin tabletop on the Keter cart wipes down fast between the two jobs, which matters because you'll be switching sides more than you expect. I keep a spray bottle of diluted vinegar and a rag clipped to the cart's side hook specifically for that reason, a quick wipe between raw and finished duty takes maybe fifteen seconds. My son Danny thought I was being the overly cautious retired fireman about it the first time he watched me do it, right up until I explained it's the same reason we washed up between certain calls on the job. Once it clicks, it's automatic.
I also keep two different colored cutting boards on the cart now, a red one for raw meat and a green one for anything ready to eat, a habit straight out of commercial kitchen training that I picked up somewhere along the way and never let go of. It's a small thing, but it means even Donna or one of the boys can grab the right board without asking, because the color does the thinking for them.
Step 3: Load the Shelves and Cabinet by How Often You Reach for It
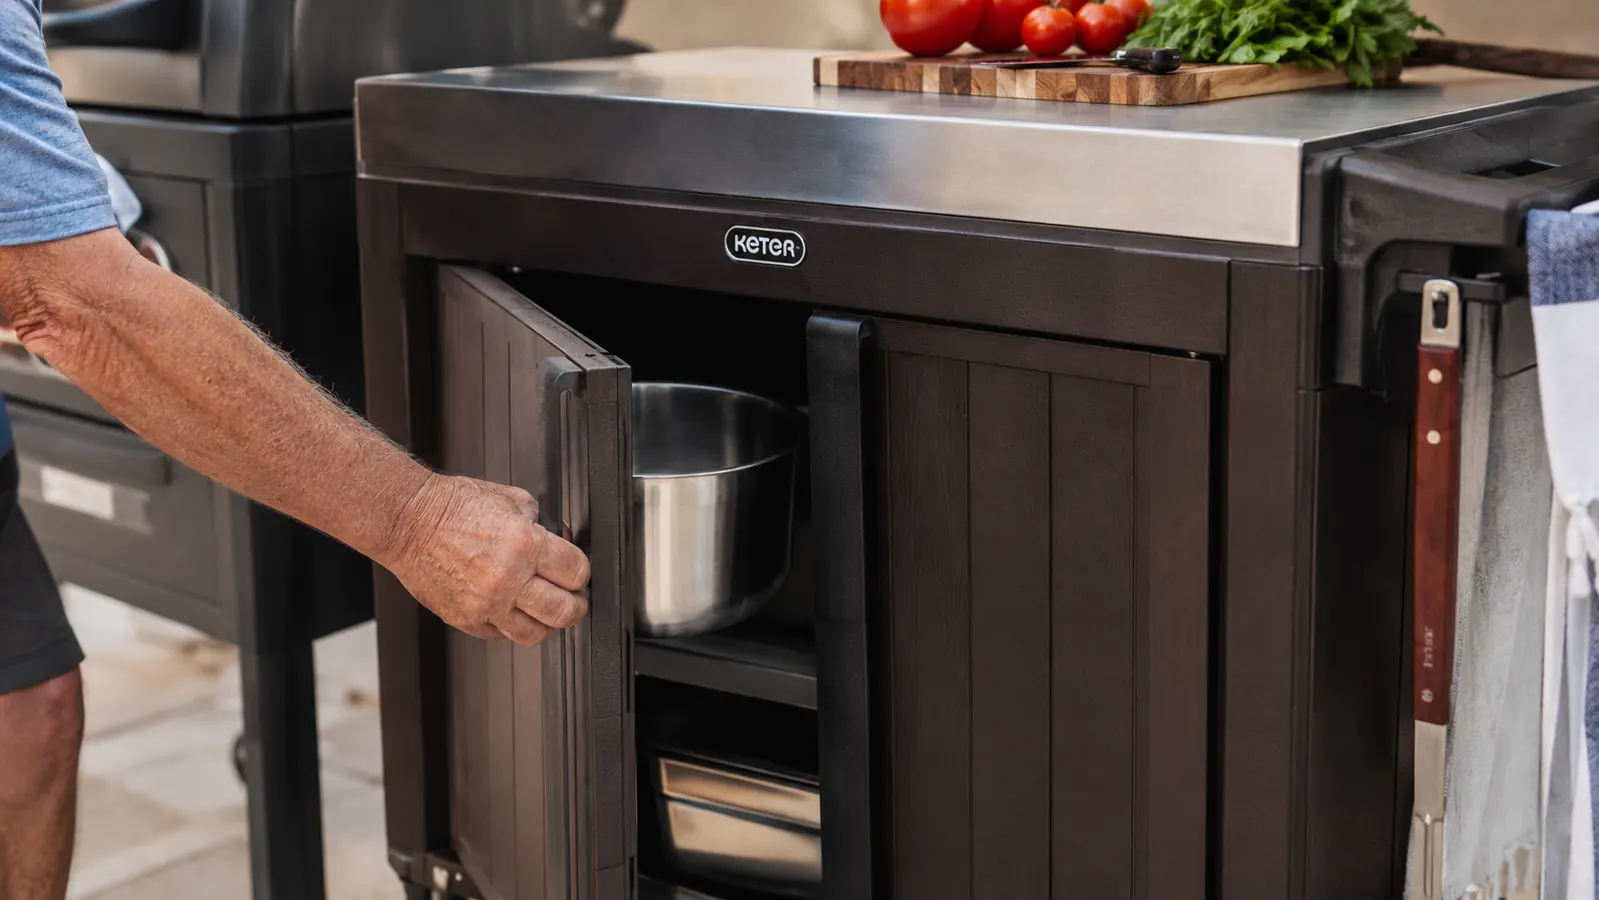
The enclosed cabinet underneath the Keter cart is where the real organizing happens, and the trick is loading it by frequency, not by category. Bottom of the cabinet holds the stuff I touch once a cookout or less, a spare bag of charcoal, the chimney starter, extra propane fittings. Middle holds mixing bowls and foil, things I need maybe two or three times per session. Anything I'm reaching for constantly, tongs, my go-to rub, a meat thermometer, lives on the top surface or hanging right at eye level, never buried in the cabinet where I'd have to bend down and dig mid-cook.
I learned this the wrong way around at first, I had my most-used tools shoved in the back of the cabinet behind bags of charcoal, which meant I was still making trips, just shorter ones, back and forth to the cart instead of the kitchen. Once I flipped the order so frequency decided placement instead of tidiness, everything changed. My grandsons Eli and Wyatt know exactly where the marshmallow skewers live now too, which tells you the system works even for a seven and nine-year-old who mostly just want dessert.
For seasonings specifically, I keep a small caddy with my four or five most-used rubs and a squeeze bottle of oil sitting right on the top shelf, not in the cabinet at all. Digging through a spice cabinet with tongs in one hand and a chicken thigh flaring up behind you is how you end up with burnt food and a mild string of words you don't want the grandkids repeating.
Step 4: Corral Loose Gear With the Cart's Hooks and Rail
Loose tools are what turn a clean cart into a mess again within twenty minutes. The Keter cart has a small hook area on the side, and I use it for exactly two things, a towel and my main pair of tongs, the two items I reach for without looking. Everything else, spatula, basting brush, a second set of tongs for raw meat only, sits in a narrow bin on the top shelf instead of loose on the surface where it slides off the second the cart gets bumped.
Skewers and smaller items get their own small caddy rather than rolling free in a drawer. I keep a short cup of them clipped near the hooks, same idea as a firehouse tool board, everything has one specific spot and nothing else lives there. It sounds like overkill for a backyard cookout until you're the guy who spent ten minutes last summer looking for the one good pair of tongs while six people stood around a smoking grill waiting on you.
One more small addition that made a bigger difference than I expected, a plastic grocery bag clipped to the far hook for scraps and used foil. Before that, I was setting trash straight on the cart's surface between the raw and finished sides, which is exactly the kind of shortcut that undoes the whole system if you let it slide even once.
Step 5: Build a Two-Minute Reset Routine
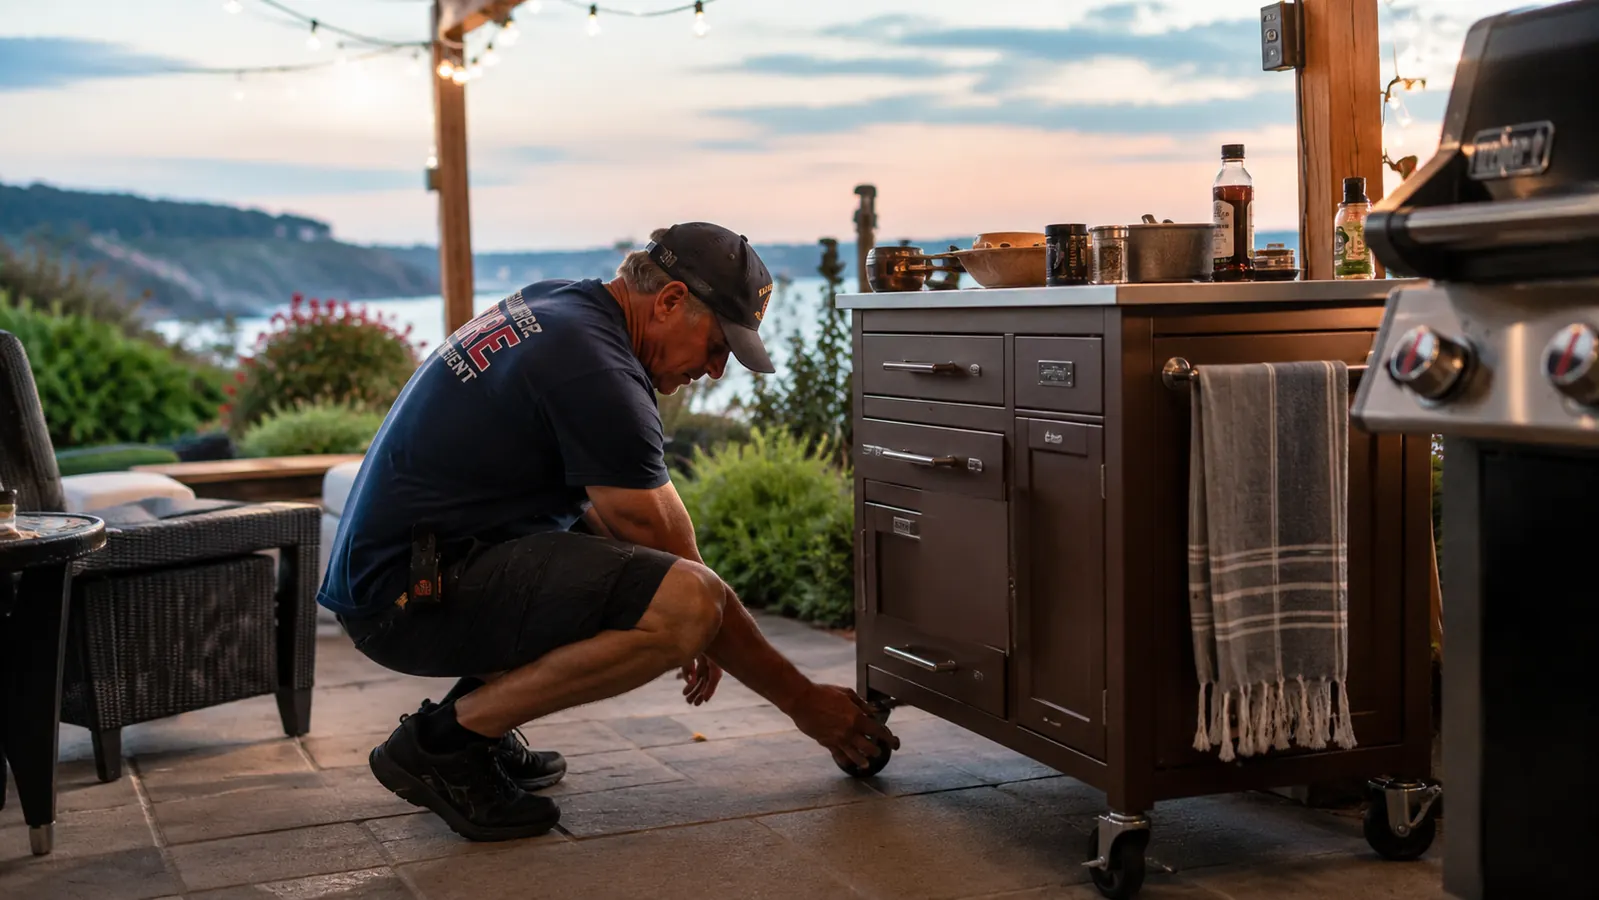
A cart only stays organized if resetting it becomes part of shutting the grill down, not a separate chore you do, or don't do, later. Once the food's off the grate and the propane's off, I wipe both sides of the Keter cart's top surface, restock anything that's running low in the cabinet, coil the towel back on its hook, and lock the front wheels before I walk away. That whole routine takes less than two minutes once it's a habit.
I roll the cart back toward the covered part of the patio most nights rather than leaving it in open weather, especially heading into hurricane season here on the coast. It takes one trip instead of the three or four separate carries the old card table setup used to require, tools in one hand, bowls stacked precariously in the other. Big Earl still gives me a hard time about how long it took me to admit a rolling cart beats a card table, but he rolled his own out for the first time this spring, so I'd call that a concession.
Once a month during the busy season I do a deeper reset, pulling everything out of the cabinet, wiping the resin down top to bottom, and checking the wheel axles for the light rust that coastal humidity can put on hardware if you're not paying attention. It takes maybe fifteen minutes and it's the reason the Keter cart still rolls as smooth as it did the day Mark gave it to me.
What Else Helps
A few smaller habits round out the system beyond the cart itself. I keep a dedicated apron with pockets for the small stuff, a pen, matches, an extra bottle opener, so I'm not opening cabinet doors for things that should just be on me already. I also try to keep the Keter cart stocked the same way every single time, same shelf, same hook, same spot, rather than reorganizing it fresh each weekend depending on the menu. Consistency is what actually saves the steps, not any single clever storage trick. And if you're cooking for a crowd bigger than four or five, consider a second small folding table just for drinks and sides, so the prep cart stays dedicated to the cooking side of the job instead of turning into the buffet line too.
Come the tail end of cookout season, I do one more pass, checking hinges, tightening any wheel bolts that have worked loose, and touching up the resin with a light cleaner if it's looking dull. It's the same twenty minutes I'd spend checking gear before storing it away back on the job, and it means the Keter cart is ready to go again the first warm weekend of spring instead of needing repairs before it can even roll back out of the shed.
A grill station isn't messy because you own too much gear. It's messy because none of that gear has a place to live. The Keter cart gave mine one.
Stop Making the Same Trip to the Kitchen Every Cookout
Give every tool, bowl, and bottle a permanent home right at the grill. The Keter rolling prep cart is the exact system I built this guide around, and it's still parked next to my grill today.
Amazon Check Today's Price on Amazon →